Hi all! I actually have 3 cards for you today! The reason is because I also have a little tip for you: when you use your turnabout stamps and dies from Concord & 9th, make at least a few at the same time to save time! Since you already went through the trouble of setting up the turnabout stamp in your MISTI (or other stamp positioning tool) and picked out your coordinating colors of ink, why not stamp a bunch of card fronts to have ready to go later when you need a last minute card and are strapped for time? Birthday cards are especially handy to have around, so here are a few ideas for you.

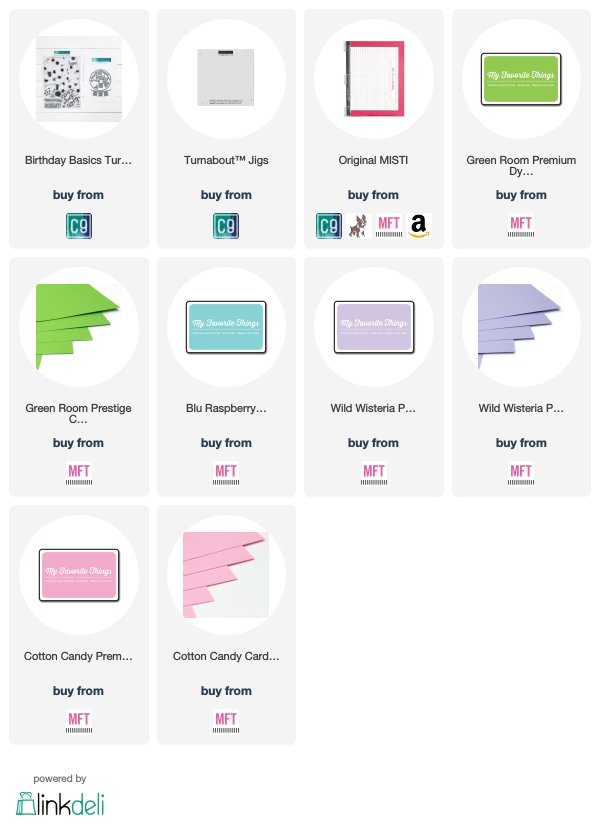
As I said, I set up my Birthday Basics turnabout stamp in my original MISTI and picked out 4 colors of ink from My Favorite Things that I love together. I also got out a sheet of kraft cardstock and white cardstock and cut them in quarters, making a total of 8 A2 size cardfronts. I also needed a few extra turnabout jigs for this so I picked up a couple extra from Concord & 9th, but you could also make your own out of cardstock (like we used to do in the pre-jig days).
I put the jig with card front in the first position and stamped with the pink ink. Then I switched out the jig to another with a blank card front and put it in the first position and stamped with the pink ink. I went ahead and stamped all the fronts with the pink ink and then cleaned off the stamp. It saves a lot of time not having to clean the stamp every single time you stamp!
Then I put the jig in position 2 and stamped with the green ink. And continued with all the fronts. Then I did the blue and purple inks. When I was done, I had 8 card fronts on 2 different colors of cardstock!
To make the shaker card, I took one of the kraft panels and die cut an opening with a Lawn Fawn die. I got a white cardstock base and stamped with the word and confetti images from the Birthday Basics set with the same ink colors. I added 2 layers of craft foam with a circle cut out of them, and filled the opening with the Enchanting sequin mix from Little Things from Lucy's Cards - it's the perfect match for my colors! Finally I sealed off the opening with some Duralar film and it was done!
My second and third cards are a twofer - I made one with bits left over from the other!
I used the dies in the matching die set and also the Altenew Bold Alphabet die set for the HAPPY letters.
And I still have 6 card fronts left to make into cards!! Such a great way to save time making multiple cards (and they don't all have to be the same design).
Thanks very much for stopping by my blog and hope you have a great day! ~Maureen
*Affiliate links don't cost you any extra, but help me out. Thank you!